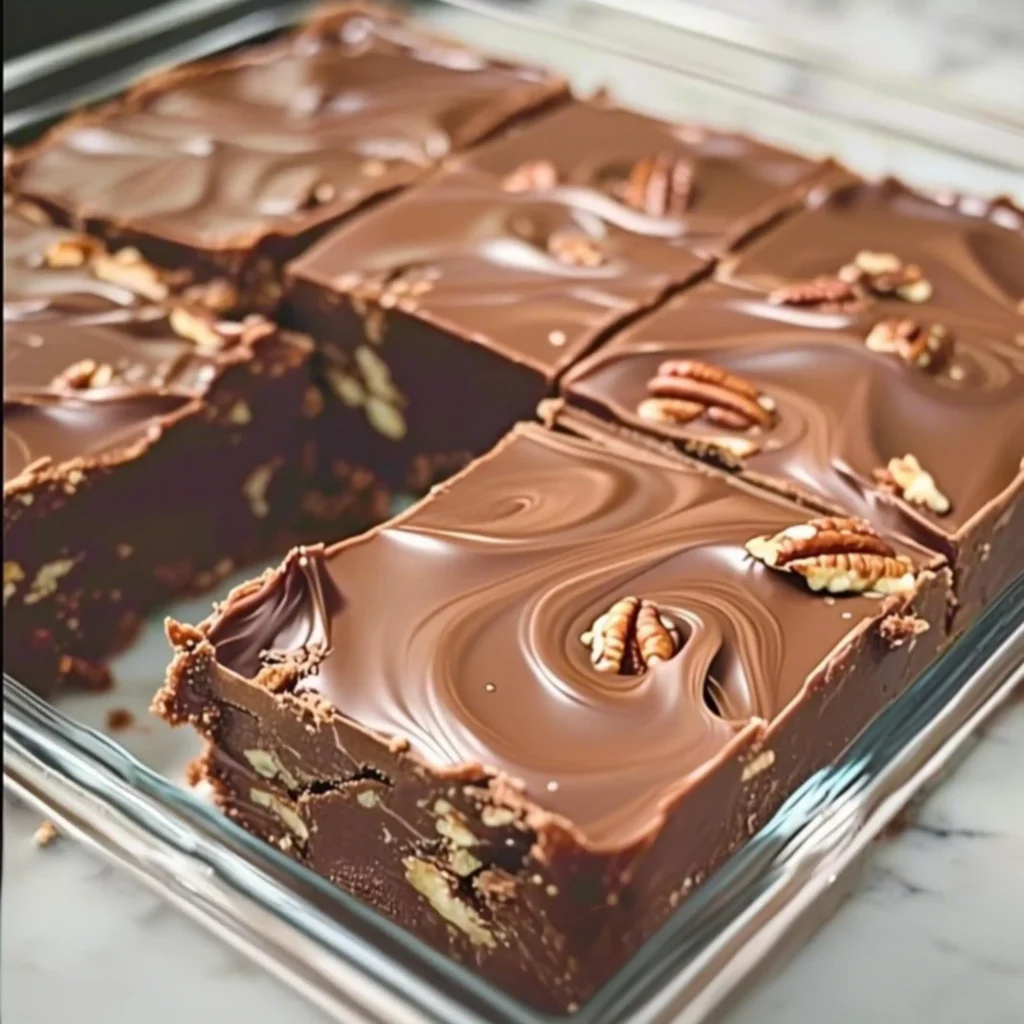
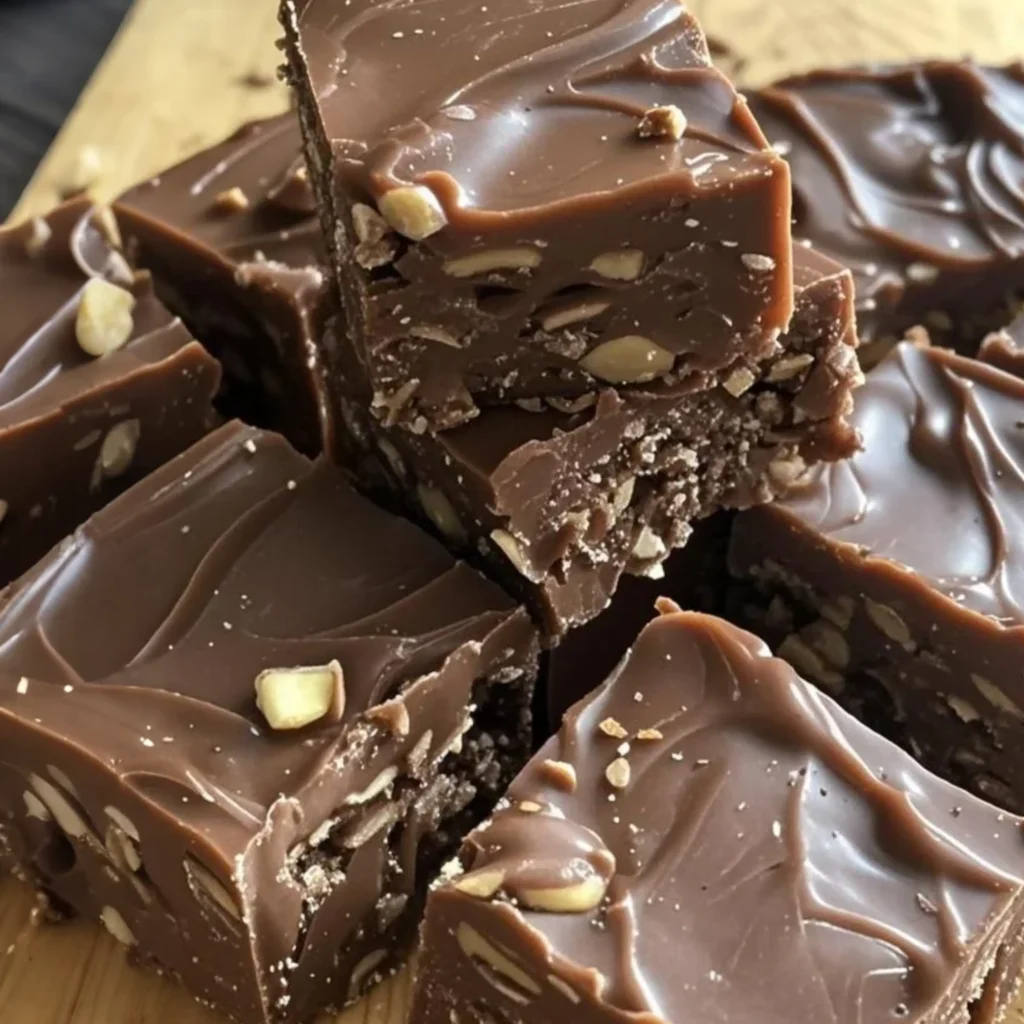
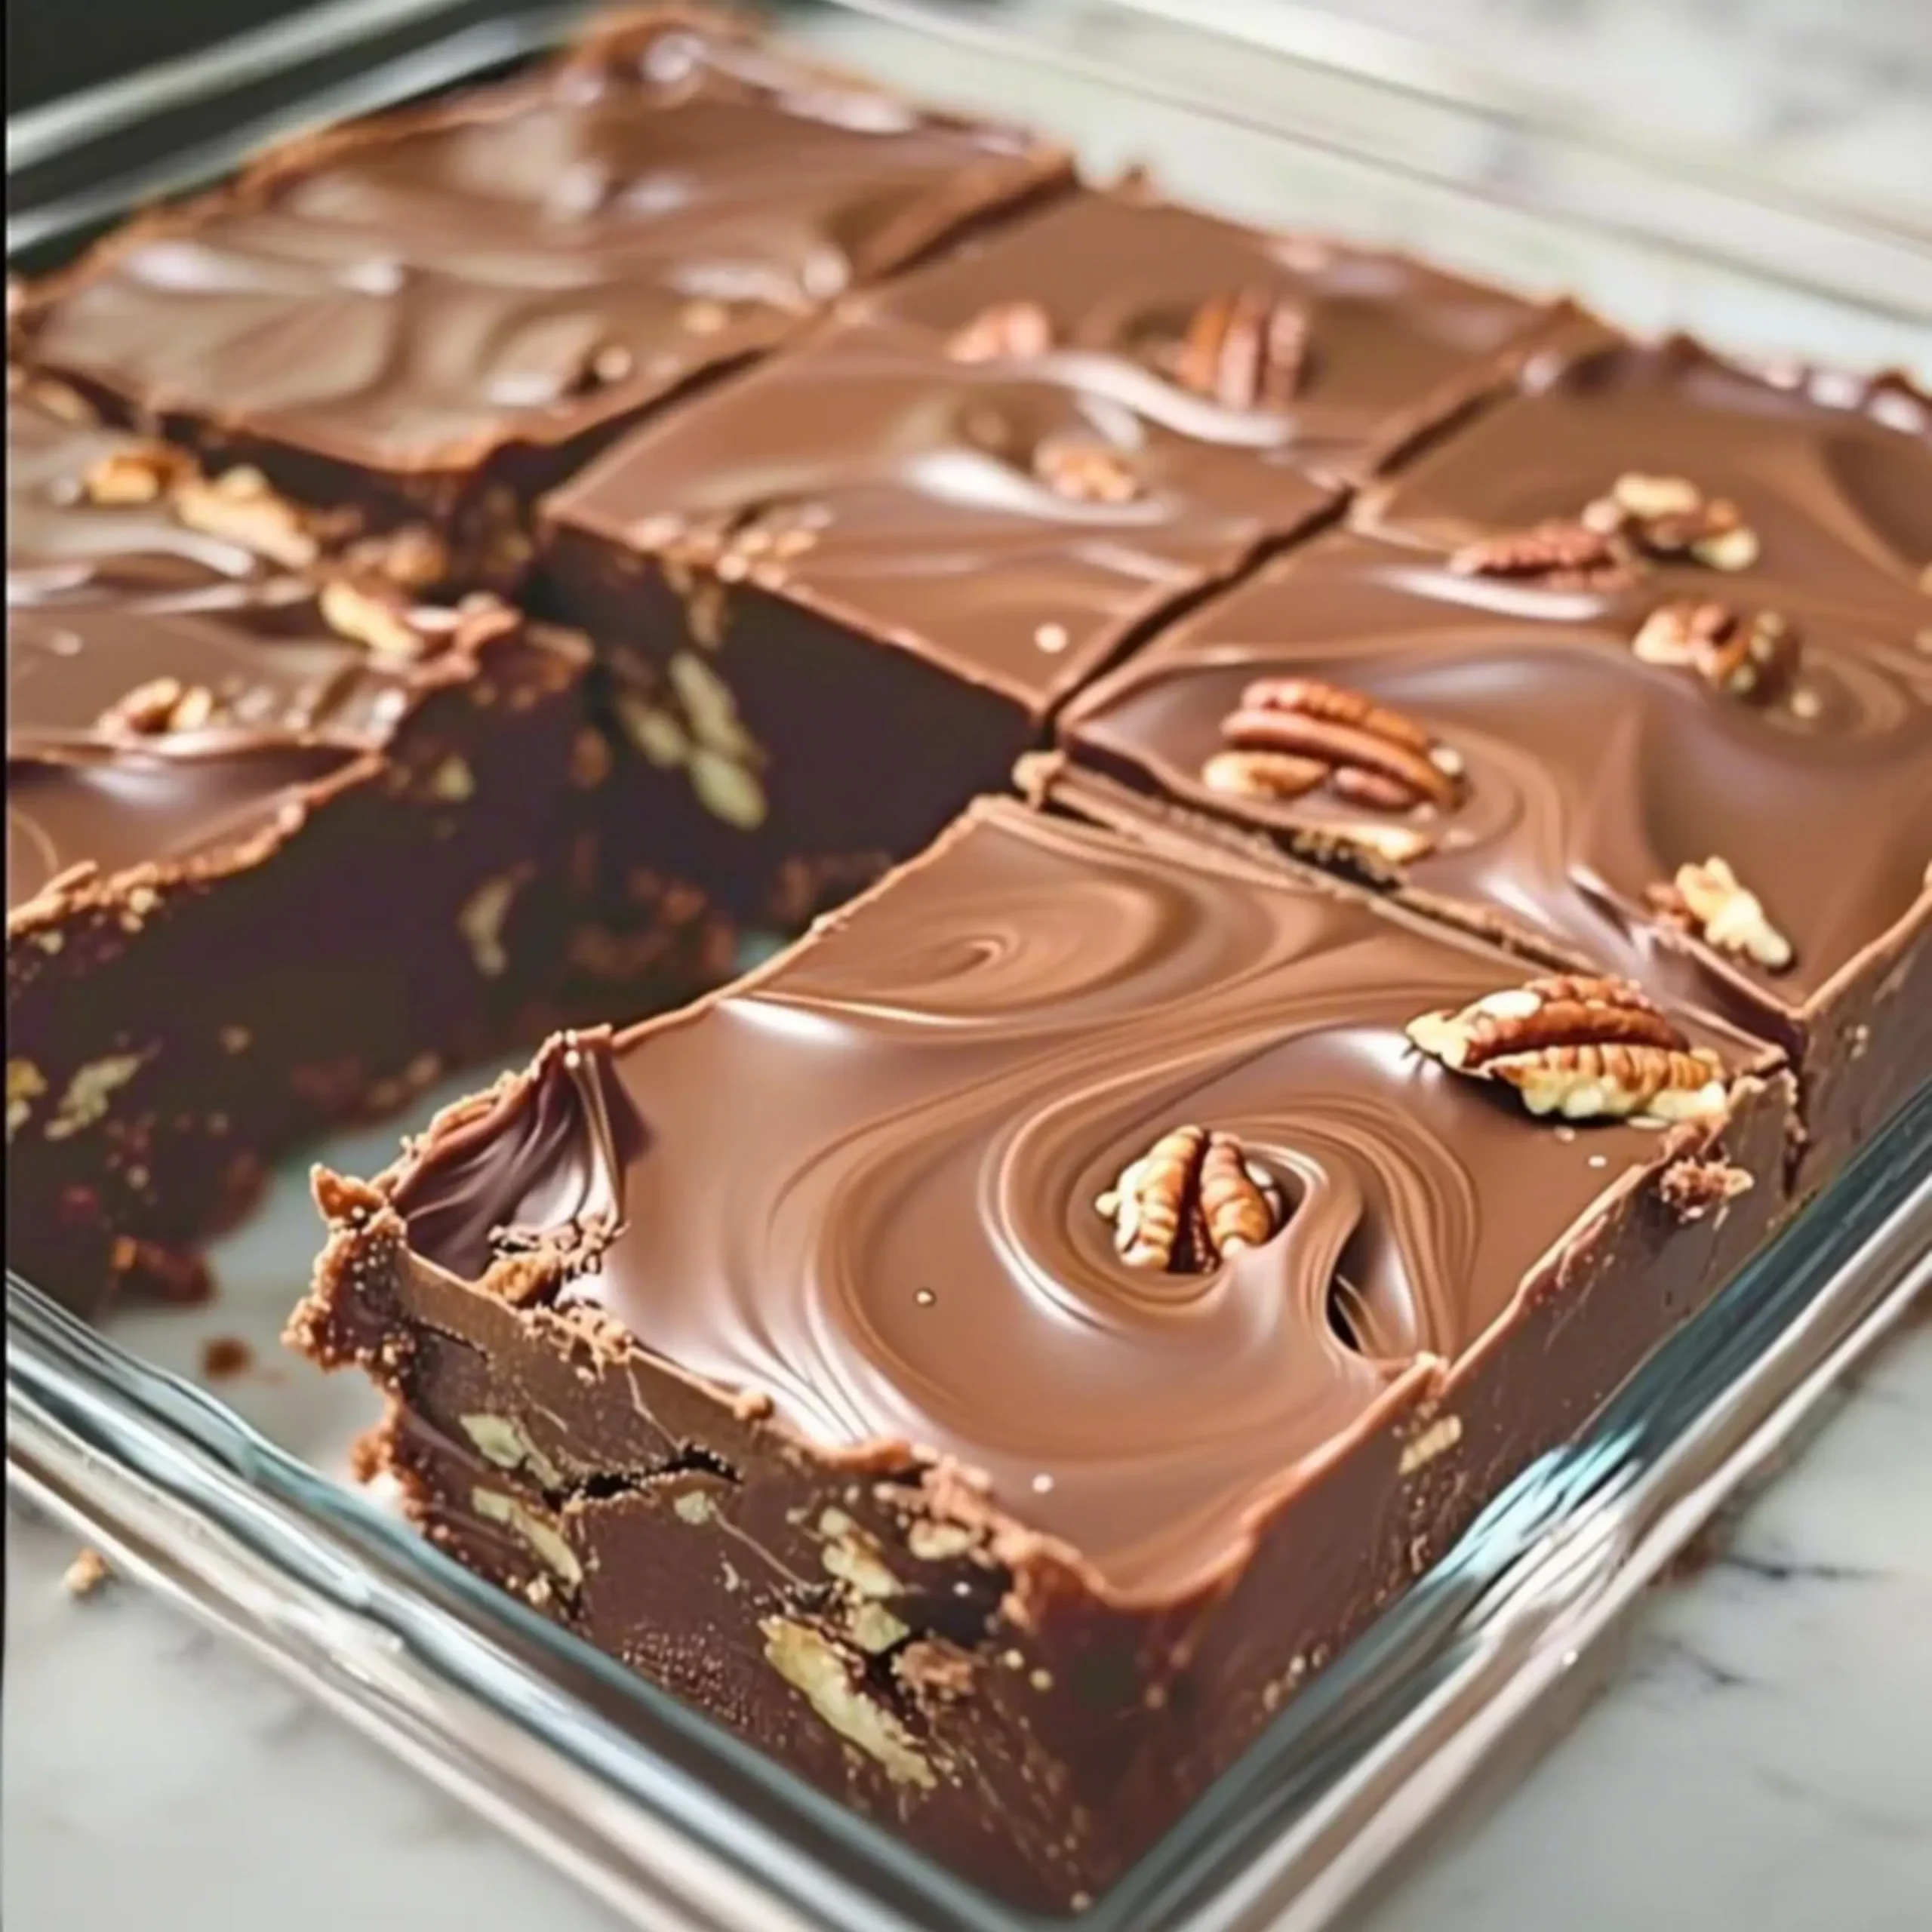
If there’s one dessert that instantly transports me to my childhood kitchen, it’s old fashioned fudge. The moment that sugary-cocoa scent hits the air, I’m ten again barefoot on our tile floor in Prescott, watching my mom stir a pot of bubbling fudge with her wooden spoon like it was pure magic.

I’m Megan-mom, Arizona native, and lifelong believer in the power of homemade sweets. I’ve always said fudge isn’t just a treat; it’s a memory packed into a bite. And this old fashioned fudge recipe? Oh, it’s the real deal. No shortcuts, no condensed milk, no fancy ingredients. Just the way my grandma made it, using a candy thermometer, a lot of patience, and love.
I learned early that making fudge isn’t just about measuring it’s about feeling. About knowing when the shine fades and the mixture thickens. I’ve burned a few batches, sure. Cried over ones that never set. But I’ve also nailed it on stormy days when the humidity fought me and still managed to pull off something creamy and smooth. That’s what I’m sharing with you a fail-proof old fashioned fudge recipe from scratch that’s been passed down, tested, and loved.
So if you’re here wondering how to make creamy old fashioned fudge that doesn’t turn gritty, buckle up. Because I’m walking you through every step from hitting the perfect soft ball stage to the secret trick that keeps your fudge smooth, rich, and sliceable.
And if you’re anything like me, once you make this once, you’ll find yourself revisiting it every holiday season or whenever your sweet tooth needs a good hug. It’s the kind of recipe that turns rainy afternoons into warm memories. Kind of like these homemade sweet potato pies or even that chewy brownies recipe that got passed around the block.
Why You’ll Love This Old Fashioned Fudge Recipe
It’s rich, creamy, and hits all the right notes
Unlike quick fudge recipes with shortcuts, this version delivers depth. Cooking it slowly over the stove brings out that deep cocoa richness, and when cooled just right, you get a firm bite that melts on your tongue.
You don’t need condensed milk or corn syrup
This is an old fashioned fudge without condensed milk just milk, butter, sugar, and cocoa. That means it’s great for folks looking for a cleaner, more classic recipe. No weird ingredients, just pantry staples.
It’s surprisingly affordable & nostalgic
Honestly, this is a budget-friendly dessert that still feels like a splurge. Perfect for gifting, parties, or sneaking from the fridge at midnight no judgment here.
Ingredients & Equipment to Make Perfect Old Fashioned Fudge
When it comes to nailing this old fashioned fudge recipe from scratch, it really boils down to the basics. You don’t need much just quality ingredients, a sturdy saucepan, and a little patience. Trust me, this isn’t one of those recipes with a scroll-long list of hard-to-find things. This is as classic as it gets.
Ingredient List Table
| Ingredient | Amount | Purpose |
|---|---|---|
| Granulated sugar | 2 cups | Sweetness + structure |
| Unsweetened cocoa | ½ cup | Deep chocolate flavor |
| Whole milk | ¾ cup | Creamy base that cooks down into fudge |
| Unsalted butter | 4 tablespoons | Adds richness and smooth finish |
| Vanilla extract | 1 teaspoon | Warm, aromatic balance to the cocoa |
| Salt | ¼ teaspoon | Balances the sweet and sharpens the flavor |
You can easily adapt this for a sugar-free old fashioned fudge by swapping the sugar for a granulated sugar substitute like allulose or erythritol, but remember to watch the soft-ball stage carefully sugar alternatives behave differently when heated.
If you want to turn this into a gluten-free old fashioned fudge, you’re already in luck: the base recipe is naturally gluten-free. Just double-check your cocoa and vanilla are certified GF, and you’re good to go!
Looking to stretch this recipe for holiday trays or gifts? Consider pairing it with other classic sweets like this strawberry rhubarb pie or churro cheesecake for the ultimate nostalgic dessert spread.
Simple Tools for Traditional Fudge
You don’t need fancy baking gear, but a few trusty kitchen tools really help make this fudge foolproof:
- Medium saucepan (heavy-bottomed): Prevents burning and encourages even heating.
- Candy thermometer: Crucial for hitting that soft-ball stage (~238°F). If you don’t have one, the cold water test works.
- Wooden spoon: The OG tool for beating fudge until it loses its gloss.
- 8-inch square pan: For cooling and setting.
- Parchment paper or butter: For greasing the pan and preventing sticking.
- Cooling rack (optional): To help fudge cool evenly.
How to Make Old Fashioned Fudge Like Grandma Did
This fudge isn’t the “dump and chill” kind. It’s the old fashioned cooked fudge recipe that demands a little patience and a whole lotta heart. You’ll watch the sugar melt, smell the cocoa bloom, and wait for that soft-ball stage to hit just right. That’s where the transformation begins.
Step-by-Step Guide to the Soft Ball Stage
- Prep your pan first – Trust me, once the fudge is ready, you need to move fast. Grease or line your 8-inch pan and keep it nearby.
- Mix and heat – In a heavy-bottomed saucepan, whisk together the sugar, cocoa powder, milk, and salt until smooth. Medium-high heat is your friend here.
- Bring to a boil – Stir constantly until it reaches a boil. Once it’s bubbling? Stop stirring. This is key.
- Reach soft-ball stage (238°F) – Now, let it simmer without stirring. Clip on your candy thermometer or use the old-school method: drop a bit in cold water, if it forms a soft ball, you’re golden.
- Cool it down – Take the pot off heat and let it cool to about 110°F. Do not disturb it during this time. It needs about 50–70 minutes to cool.
- Beat it like you mean it – Add the butter and vanilla, then beat vigorously with a wooden spoon until the mixture thickens and loses its shine. This step separates the silky from the crumbly.
- Pour and set – Pour into your prepped pan, smooth it out fast, and let it sit at room temp until it sets.
That’s it. You just made old fashioned fudge without condensed milk, and honestly, I’m proud of you.
If you’re feeling adventurous, this cooking process shares some old-school similarities with making rock candy patience, timing, and a little sugar science.
How to Get That Smooth & Creamy Texture

Let’s talk texture. You want creamy, not gritty. Here’s what makes all the difference:
- Don’t stir once boiling begins. Sugar crystals will form and ruin the batch.
- Use a candy thermometer. This one is non-negotiable for beginners.
- Cool before beating. If you rush it, you’ll get oily fudge that separates.
- Beat until the shine fades. That’s the signal you’re done.
Want to learn how to make creamy old fashioned fudge every single time? It’s all in the timing. And hey, if something goes wrong, we’ll cover how to fix it in Part 5.
Ways to Serve This Old Fashioned Fudge
Fudge may be bite-sized, but it plays big in flavor. Whether it’s Christmas tins, birthday platters, or random Tuesday night cravings, here are fun ways to serve it up:
Classic Squares on a Dessert Tray
Cut into even squares (you’ll get about 64 small bites), and serve alongside vintage treats like peach cobbler or Dubai chocolate bars for a nostalgic dessert spread.
Crumbled Over Ice Cream or Cheesecake
Try sprinkling leftover fudge over vanilla ice cream or using it as a rich topping for cheesecake. It melts slightly and gives this melt-in-your-mouth texture that’s… well, kind of insane.
Expert Tips, Variations & Smart Storage
Old fashioned fudge might be simple, but it leaves plenty of room for creativity. Whether you’re going sugar-free, tweaking the flavors, or just trying not to mess it up (we’ve all been there), this section covers it all.
Flavor Swaps: Sugar-Free, Gluten-Free & More
Make it Sugar-Free Without Losing Texture
Want to make a sugar-free old fashioned fudge? Swap the granulated sugar with a 1:1 natural sweetener like allulose or erythritol. Be aware: these sweeteners behave differently under heat, so always use a candy thermometer and check texture more than time.
- Bonus tip: Allulose gives a closer match to real sugar’s softness than erythritol, which can crystalize.
Gluten-Free? You’re Already There
Good news this old fashioned fudge is naturally gluten-free. No flour, no thickeners, no gluten-containing ingredients. Just check that your cocoa and vanilla extract are certified gluten-free if you’re making it for someone with celiac or strong sensitivities.
For a twist, try stirring in:
- Crushed nuts (pecans or walnuts)
- Mini marshmallows
- A swirl of peanut butter or almond butter
You can get creative like with these matcha brownies classic with a twist!
Pro Tips for Foolproof Results
Use a Candy Thermometer (Every Time)
- Even pros mess up when they try to eyeball it. The soft ball stage at 238°F is critical. Go under and it won’t set; go over and it’ll crumble or seize.
Don’t Stir After It Boils
- This is where newbies slip up. After the mixture hits a rolling boil, stirring causes sugar crystals to form. That’s how you end up with grainy fudge.
Cool Before Beating—Then Beat Like Crazy
Once you remove the pot from heat, let it cool undisturbed to 110°F. Then? Add the butter and vanilla and stir fast and hard until it loses its shine. That’s your cue to pour.
This method works just like the old candy tricks we used during holidays in our kitchen same rules, different sweets.
Best Ways to Store Old Fashioned Fudge
Room Temp or Fridge – Both Work
Once your fudge has fully set at room temperature (usually a few hours), here’s how to store it:
- At room temperature: In an airtight container, good for 1–2 weeks.
- In the fridge: Lasts up to 3 weeks, stays firm and easy to cut.
Freezer? You Bet
Wrap fudge tightly in wax paper, then foil, and seal in a freezer-safe bag. It’ll keep for 2 to 3 months. When you’re ready, thaw in the fridge overnight.
Just like the secret to keeping churro cheesecake fresh, it’s all about proper wrapping and airtight containers.
Avoid These Common Mistakes
Making old fashioned fudge is a little bit science, a little bit love, and a whole lot of timing. And yes things can go wrong. But I’ve burned, undercooked, overbeat, and still come out stronger (and sweeter). Let’s fix those fudge fails.
Common Errors When Making Fudge
Stirring After Boiling Starts
- Once your mixture hits a full boil, hands off that spoon. Stirring creates sugar crystals that turn your dreamy fudge into a grainy mess.
Not Using a Candy Thermometer
- Guesswork doesn’t cut it here. The soft ball stage (238°F) is the line between creamy and crumbly. If you don’t have a thermometer, try the cold water test but don’t skip this step.
Beating Too Early or Not Long Enough
- If you beat before it cools to 110°F, the butter won’t blend, and your fudge will be greasy. If you stop beating too soon, it’ll stay shiny and never set. The goal? Beat until the gloss disappears.
Pouring Late
- Once that gloss fades, move fast. Fudge sets quickly. Delay a minute and you’ll be scraping hardened chocolate from the pot.
- These are the same hiccups I see moms deal with in my meal prep classes. The trick isn’t perfection it’s knowing what to watch for.

Old Fashioned Fudge Full Recipe
Ingredients
Equipment
Method
- Grease or line an 8-inch square pan with parchment paper and set aside. This ensures the fudge doesn’t stick once poured.
- In a medium heavy-bottomed saucepan, combine sugar, cocoa, milk, and salt. Whisk until smooth and place over medium-high heat.
- Stir constantly until mixture comes to a full boil. Once boiling, stop stirring immediately to avoid sugar crystallization.
- Allow the mixture to simmer without stirring until it reaches 238°F on a candy thermometer (soft-ball stage).
- Remove from heat and let the mixture cool undisturbed to about 110°F. This takes about 50–70 minutes.
- Add the butter and vanilla. Beat vigorously with a wooden spoon until the mixture thickens and loses its shine (about 5–8 minutes).
- Quickly pour the fudge into the prepared pan. Smooth the top and let sit at room temperature until fully set.
- Once set, cut into small squares (about 64 pieces). Store in an airtight container at room temperature or refrigerate for longer shelf life.
Nutrition
Notes
- Always use a candy thermometer for best results.
- Don’t stir after it starts boiling to avoid graininess.
- Want to get creative? Add crushed nuts, mini marshmallows, or a swirl of peanut butter just before pouring into the pan.
Tried this recipe?
Let us know how it was!Final Thoughts from Megan
This grandma’s old fashioned fudge recipe isn’t just about chocolate and sugar it’s about memories. It’s about the afternoon I spent with my daughter beating fudge until our arms were jelly. About my son sneaking bites while it cooled. It’s about tradition that tastes better than nostalgia ever could.
So go slow. Trust the thermometer. Laugh when it goes wrong. Share when it goes right. And keep a few squares in the back of the fridge you’ll thank yourself later.
Pair it with classics like chewy brownies or serve it beside peach cobbler at your next gathering. It’s more than dessert it’s comfort, memory, and love in a bite.
LET’S STAY CONNECTED! FOLLOW ME ON:
Tried this recipe? I’d be thrilled to see your take on it! Snap a pic and tag me @Sweftyrecipes so I can share your delicious creations with our foodie community.
→ FACEBOOK | INSTAGRAM | PINTEREST
Frequently Asked Questions
Why is my old fashioned fudge grainy?
Graininess usually comes from stirring after boiling begins or from sugar crystals forming on the pan. Avoid stirring once it starts to boil and use a wet pastry brush to wipe down the pan sides during cooking.
How to fix fudge that won’t set?
Let it cool longer before beating. If it still won’t set after pouring, you can return it to the pot, add a tablespoon of water, and cook again to soft-ball stage. Then restart the beating step.
How long to beat old fashioned fudge?
Beat for about 5 to 8 minutes or until the mixture loses its shine and becomes thick and harder to stir. If it still looks glossy, keep going.
How to store old fashioned fudge?
Once set, keep it in an airtight container at room temperature for up to 1–2 weeks, or in the fridge for 3 weeks. You can freeze it for up to 3 months, just wrap it well.

1 thought on “Old Fashioned Fudge Recipe”